
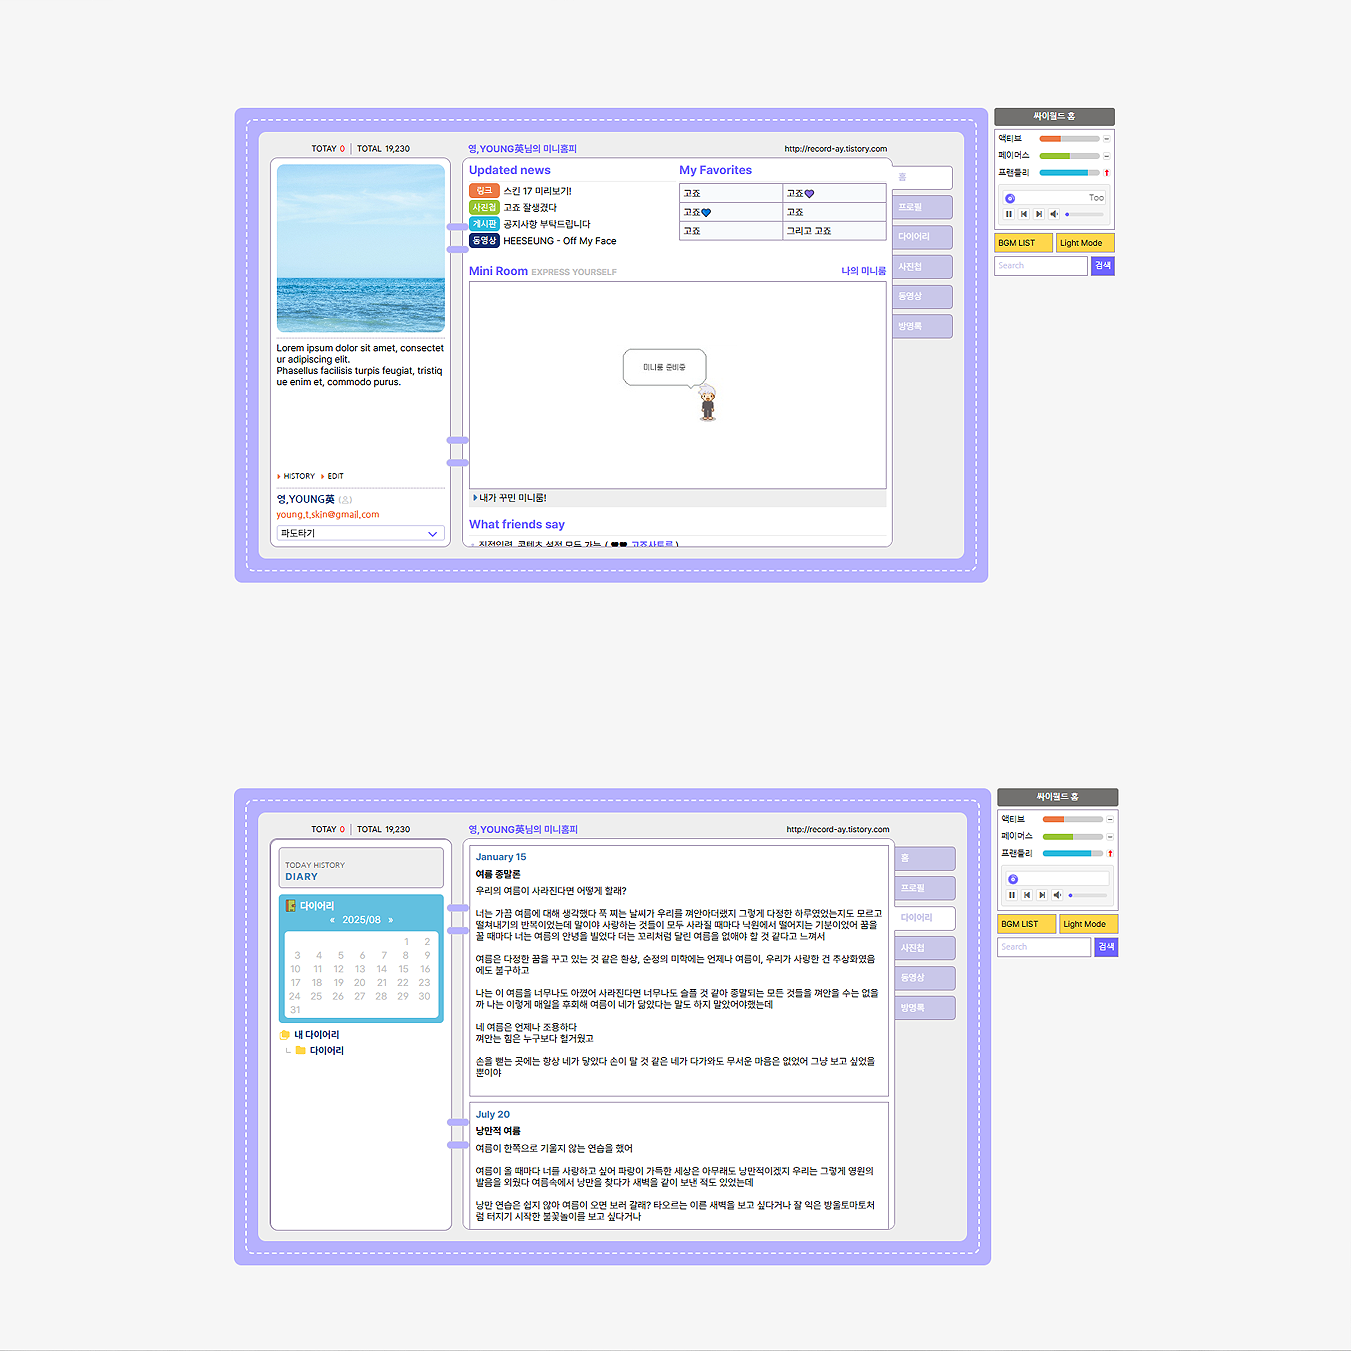
 영,YOUNG英


 스킨 변경 클릭
 스킨 등록 클릭
  압축 해제 한 폴더 -
 열기를 누르면 images 파일이 우선 추가됩니다.
  그리고 다시 추가를 눌러 압축해제 한 폴더에서 나머지(images제외) 있는 파일을
  모든 파일이 추가 되었으면 하단 저장을 눌러주세요
  스킨명을 입력한 후 - 확인
  상단 스킨보관함 클릭
  방금 업로드한 스킨 마우스를 올린 후 적용을 누르면 끝!
  스킨 파일 다운로드 - 압축 해제 후 기본 파일
 * 파일 선택창에서 위 이미지와 같이
  * images에 있는 파일 따로, 그 밖에 있는 파일 따로
  - 스킨편집하기 - 상단 html 편집 클릭


 - 파일업로드 - 추가 선택 후
  그리고 그냥 화살표 눌러주시면 됩니다!


(이 글과 Q&A 게시판에 수정방법이 없을땐 스킨 본문 댓글 / 방명록으로 문의 남겨주세요.)
🔔 클릭시 이동
스킨 업로드 전 꼭 필독!
스킨 업로드방법
카테고리(혹은 메뉴) 슬라이드 작동 오류 (그 외 기능 작동X)
스킨 적용시 이상하게 보일때
로딩창 안보이게 하기
공지사항 하나씩 보이게 설정
부분 목록/갤러리형 설정 (카테고리 스타일 설정 및 제대로 적용되지않을때)
본문 공감 버튼 숨기기
본문 이미지 테두리 넣기
본문 글 - 이미지 여백 조절
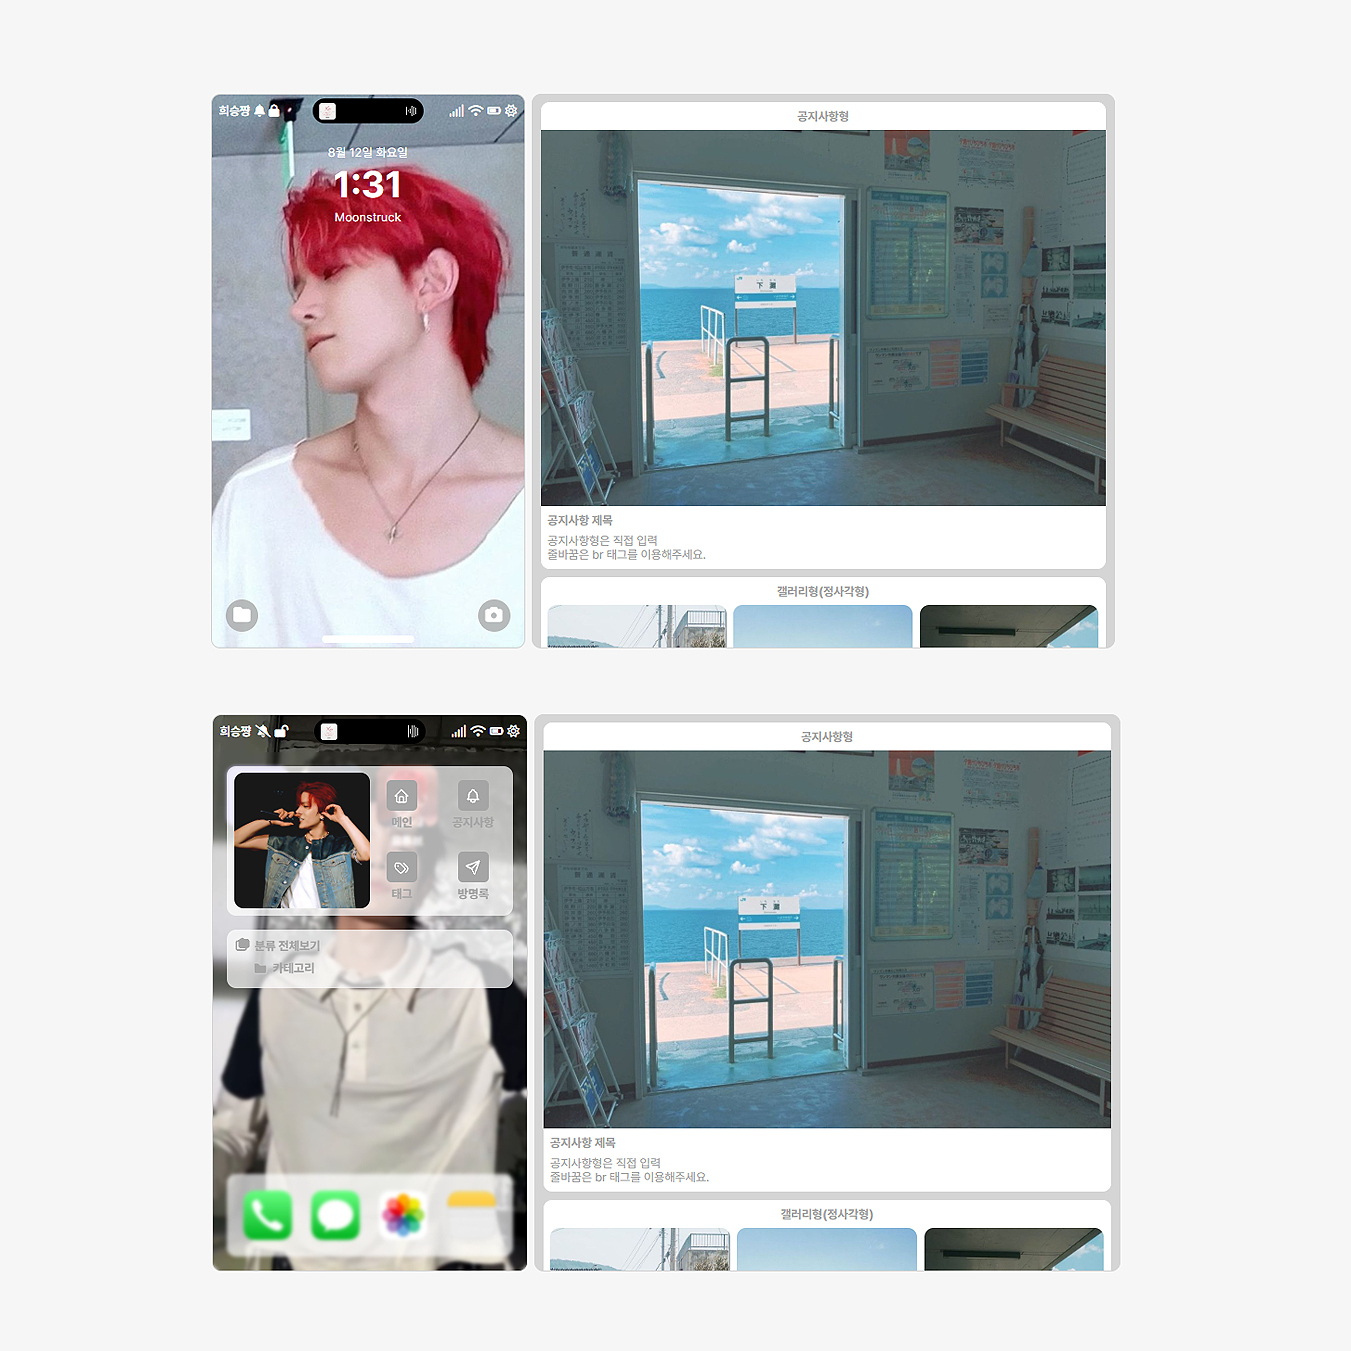
모바일 스킨 적용
모바일 웹 자동연결 사용하지 않음 적용 후에도 스킨 적용 되지 않을 때
카테고리 새글 (NEW) 표시 , 카테고리 글 수 없애기
외부 링크 아이콘 변경
특정화면 첫 페이지 고정
스크롤바 숨기기, 보이기
마우스 커서 변경
더보기 버튼 텍스트 변경
폰트어썸(아이콘) 안뜨거나 엑박(깨짐) 현상
본문 (글쓰기) 링크 첨부시 좌측 아이콘 삭제
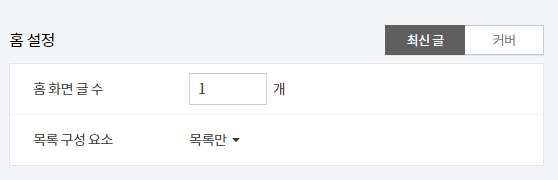
제 스킨은 모두 목록 구성 요소 '목록만' 에 맞춰 제작되었습니다
목록 구성 요소를 모두 목록만 으로 설정해주세요!

- 아래 소스를 스킨 편집하기 > CSS에 추가해주세요.
/* 공감버튼 */
.container_postbtn {display: none;}- 아래 소스를 스킨 편집하기 > CSS 추가해주세요
igure.imageblock img, figure.imageblock img {border: solid 1px #색상;}- 사진 2장을 붙였을 때 사진 사이 가운데 여백을 없애고, 이미지와 글 사이에 여백을 없애는 소스 입니다.
- 아래 전 , 후 참고 후 소스를 CSS에 추가해주세요.


/* article */
.imageblock.alignCenter {margin: 0 !important; }
 figure {margin: 0 !important; }
 figure.imagegridblock .image-container {
 display: flex !important;
 flex-wrap: nowrap !important;
 flex-direction: row !important;
justify-content: center !important;}- 2번 image에 있는 파일을 업로드 하지 않아 슬라이드가 작동하지 않을 수 있습니다.
스킨편집하기 > html > 파일 업로드 > 추가
압축파일 해제한 파일에서 images에 있는 파일을 모두 업로드 해주세요.
티스토리 - 블로그설정 - 꾸미기 - 모바일 선택


주소 끝에 /m/ 이 붙어있나 확인해주세요.
티스토리 주소 끝에 /m/을 붙이면 스킨이 적용되지 않습니다!
/m/을 뺀 pc와 똑같은 주소를 사용해주세요.


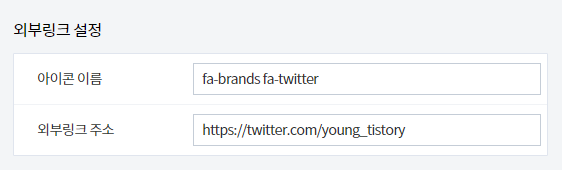
1. 아래링크 클릭 > XEIcon > LIBRARY > 원하는 아이콘 이름을 홈커버 > 외부링크 아이콘이름칸에 넣어주세요!
http://xpressengine.github.io/XEIcon/library-2.3.3.html
2. 아래링크 클릭 > FREE 검색 후 > 원하는 아이콘 클릭 >
<i class="이름"></i> 이름 이 부분에 들어간 아이콘 이름만 홈커버 > 외부링크 아이콘이름칸에 넣어주세요!
- 아래 소스를 스킨 편집하기 > html > </html> 위 붙여넣기 후 게시글 URL 을 ' ' 안에 넣어주세요.
<script type="text/javascript">
if ( window.location.pathname == '/' ) {
     location.href = '게시글 URL 을 복사 후 붙여넣기';
}
</script>- 스크롤바 숨기기
스킨편집하기 > CSS > ctrl + f (찾기) > ::-webkit-scrollbar 검색
::-webkit-scrollbar { } 안에 display:none; 추가해주세요!
- 반대로 스크롤바가 처음부터 안보이는 스킨일때 , 스크롤바를 보이게 하고 싶다면
스킨편집하기 > CSS > ctrl + f (찾기) > ::-webkit-scrollbar 검색
::-webkit-scrollbar { } 안에 display:none; 삭제해주세요!

